Users
This page describes the Users item that allows viewing and managing system users.
Overview
To open the Users item, in the left menu:
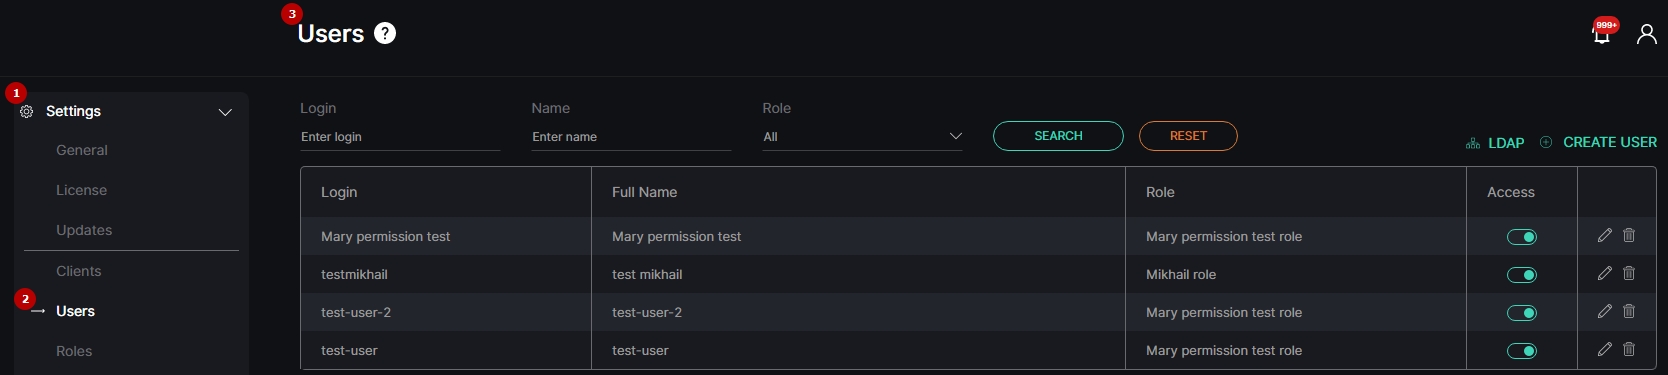
- Select the Settings section
- Choose the Users item
- See users
Use and Functionality
The Users functional menu allows to:

- Enter the login or characters in the login
- Enter the user name or characters in the name
- Select the role assigned to the user from the drop-down list
- Click the Search button to start filtering
- Click the Reset button to clear the filters
Once selected and filtered, see the list of users in the table below. It contains:
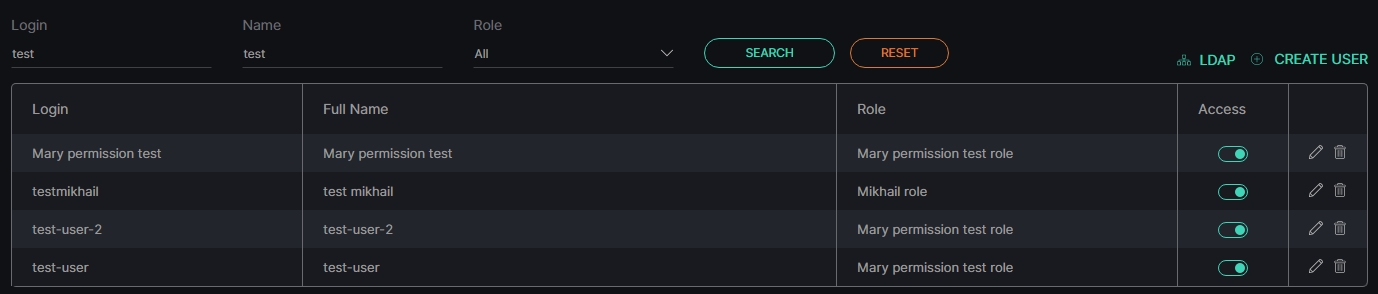
- User's account login (with LDAP tag in case the selected user was fetched to the system from LDAP)
- User's full name
- Role assigned to the user
- Toggle to enable (green) or disable (grey) the user access to the system
- Toolbox comprises:
- Edit User tool
- Delete User tool
LDAP
To set the LDAP parameters:
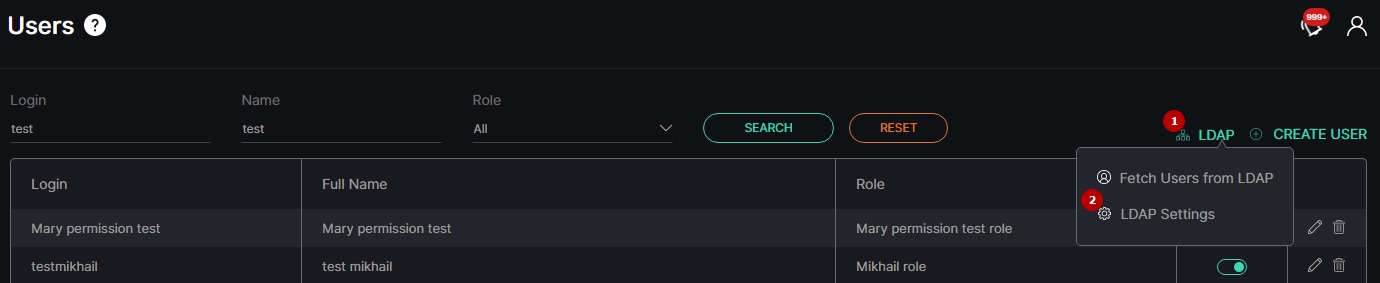
- Click the LDAP button to open the drop-down menu
- Select the LDAP Settings button
In the LDAP Settings pop-up window:
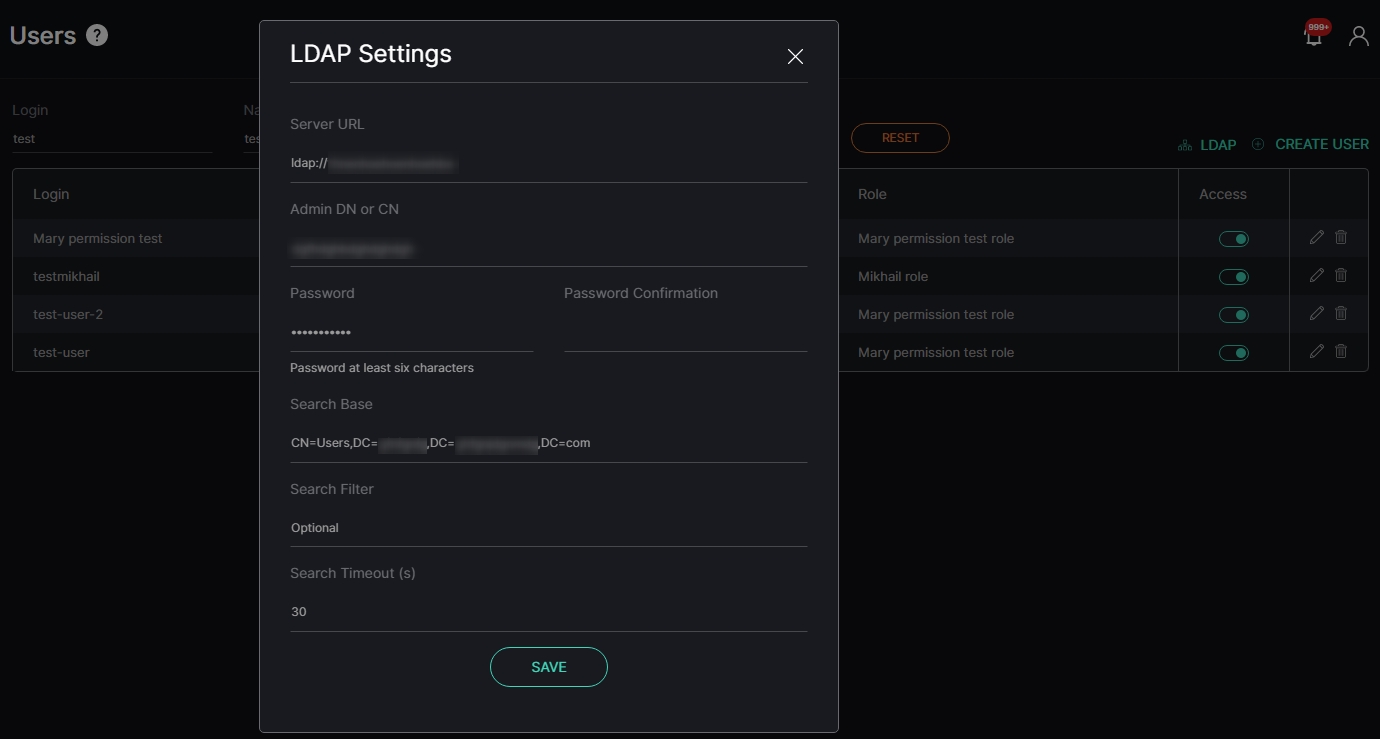
- Fill in the required fields:
- LDAP Server URL
- Administrator's Distinguished Name (DN) or Common Name (CN)
- Administrator's Password
- Search Base components
- Search Filter (optional parameter)
- Search Timeout (in seconds)
- Click the Save button to apply settings
To import users from LDAP:
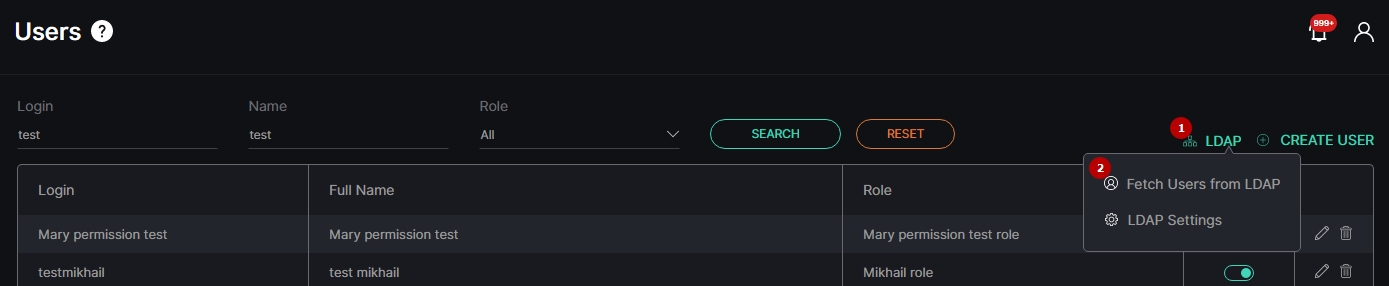
- Click the LDAP button to open the drop-down menu
- Select the Fetch Users from LDAP button
In the Fetch Users from LDAP pop-up window:
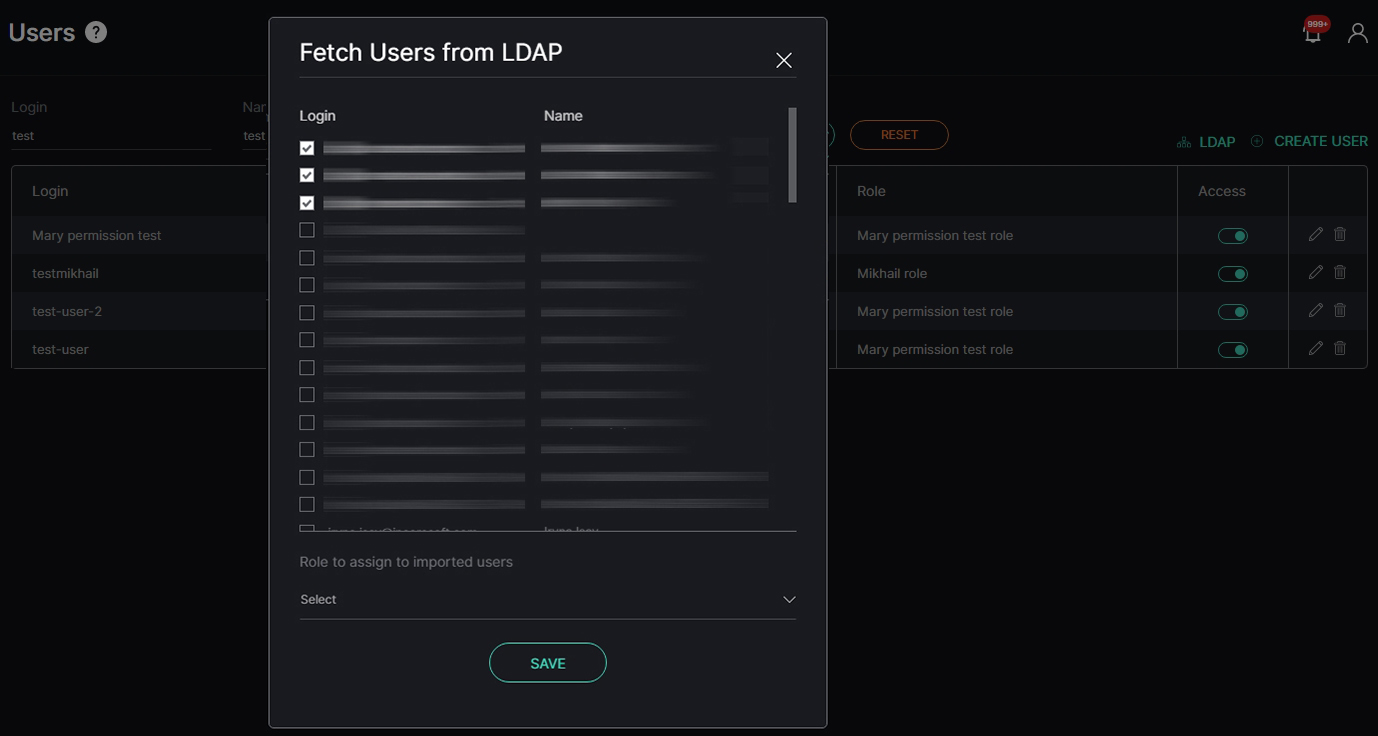
- Check the boxes next to the required users
- Select the role for new users from the drop-down list
- Click the Save button to confirm the intention
Create User
To create a new user, select the Create User button. In the Create User pop-up window:
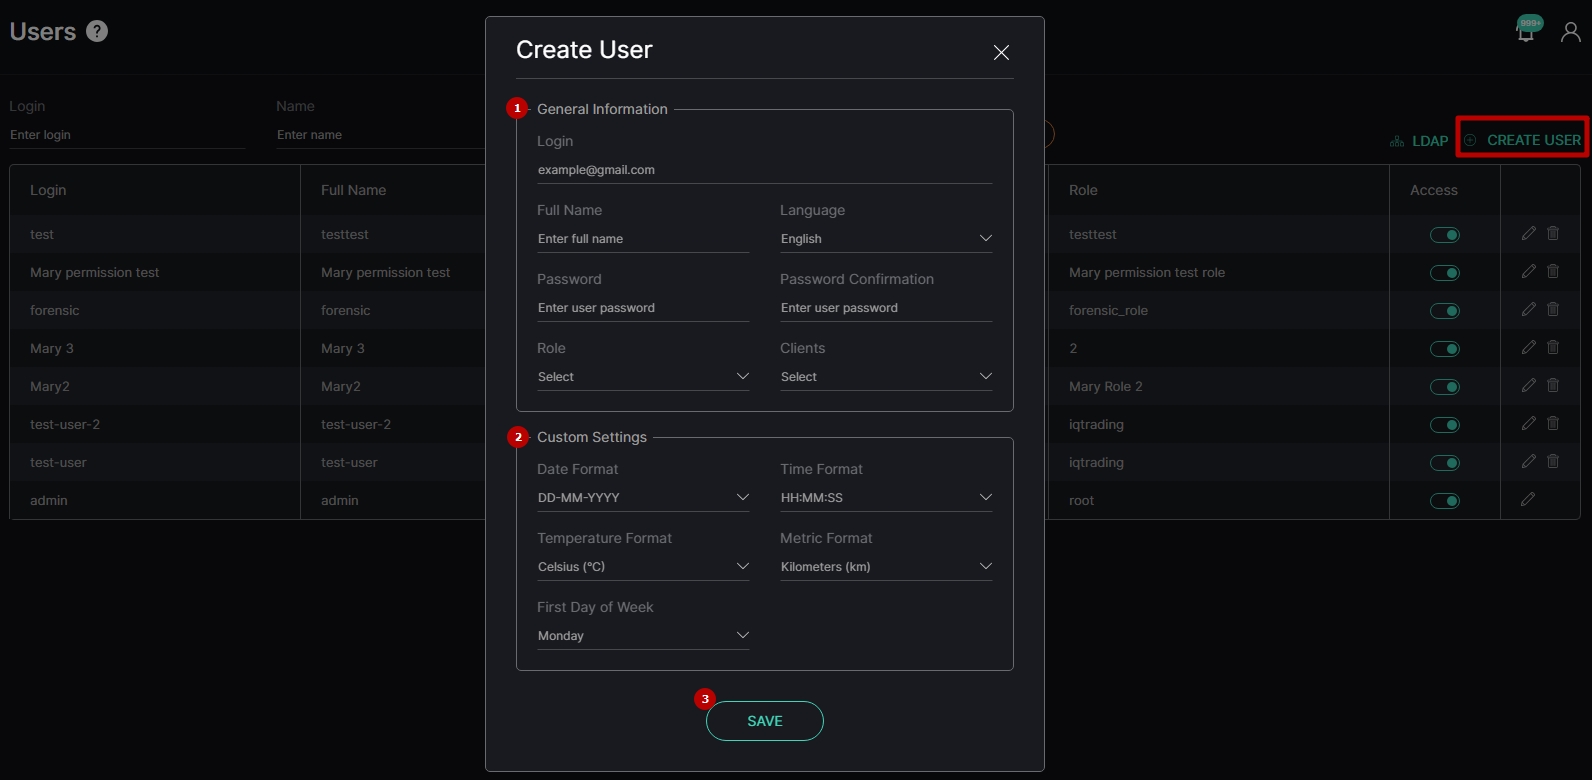
- Fill in the required fields in the General Information block:
- Enter the user's email address in the Login field
- Enter the user's full name
- Select the interface language from the drop-down list
- Enter the password for the new user's account and confirm it
- Select the role (set of access rights) for the user from the drop-down list
- Select the client to which the new user belongs from the drop-down list
- Configure the parameters in the Custom Settings block:
- Select the date, time, temperature, and metric formats from the drop-down lists
- Select the first day of the week (Monday or Sunday) from the drop-down list
- Click the Save button to confirm the intention
The user activity within the system and all user-generated data are inherently tied to their specific client. When moving a user to another client, all of the user's data up to this moment will remain with the original client where it was originally collected.
Edit User
To edit the parameters of the selected user, click the Edit icon on the toolbox:

To view editing user parameters, except for Login editing, read Create User.
The user activity within the system and all user-generated data are inherently tied to their specific client. When moving a user to another client, all of the user's data up to this moment will remain with the original client where it was originally collected.
Delete User
To delete the required user:
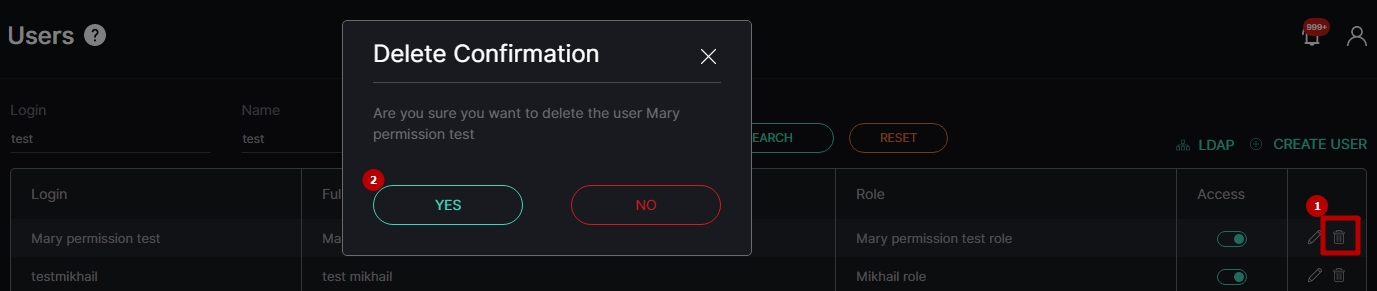
- Select the Delete icon on the toolbox
- Confirm the intention