Milestone: Object Detection Plugin Utilization
This page provides guidelines for checking the received Object Detection event data in XProtect Smart Client.
Introduction
Open the XProtect Smart Client application and sign in by performing the following steps in the login dialog:
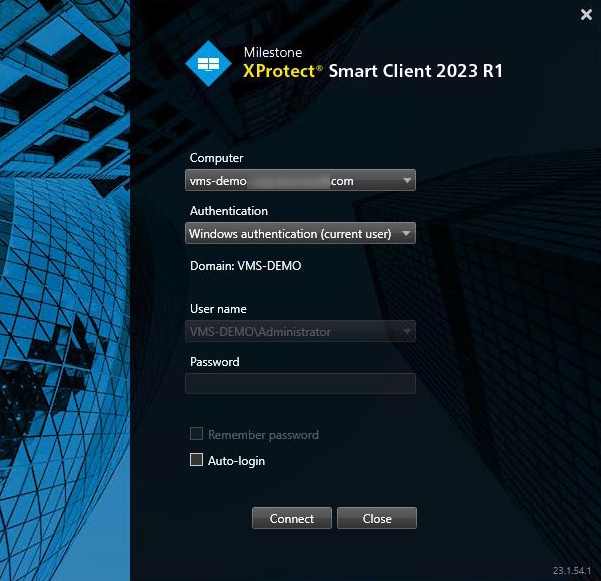
- Specify the hostname or the IP address of the Management Server in the Computer field
- Select the desired authentication method
- Enter the username and password
- Click the Connect button
View Live Analytics
To watch the required analytic process in real-time, navigate to the Views section in the main menu and proceed with the following steps:
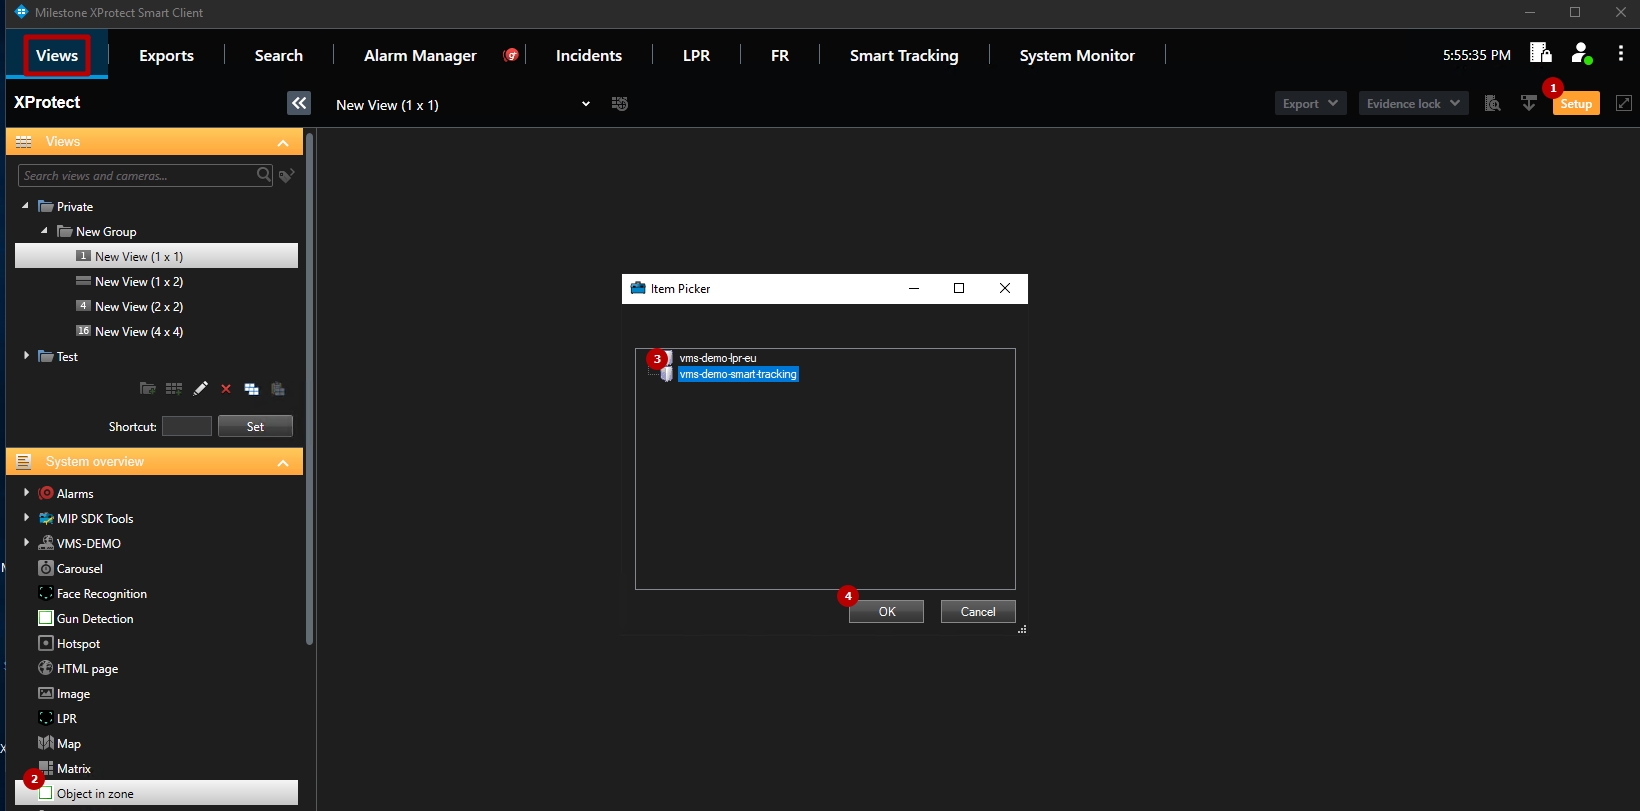
- Click the Setup button
- Select Object in Zone in the System Overview block
- Select the required analytics in the Item Picker pop-up window
- Click the Ok button
Live view analytics mode allows to:

- View the video from the camera in real-time mode
- View the table with detected objects events, including:
- Trigger
- Object type
- Detection time
- Date and time of the event
- View the event frame preview with the detected object
Select the event in the table to view its frame preview.
View Alarms
To retrieve alarms, ensure that all necessary settings in the Alarms section of the XProtect Management Client are properly configured.
To view the analytics alarms, navigate to the Alarm Manager section in the main menu. It comprises:
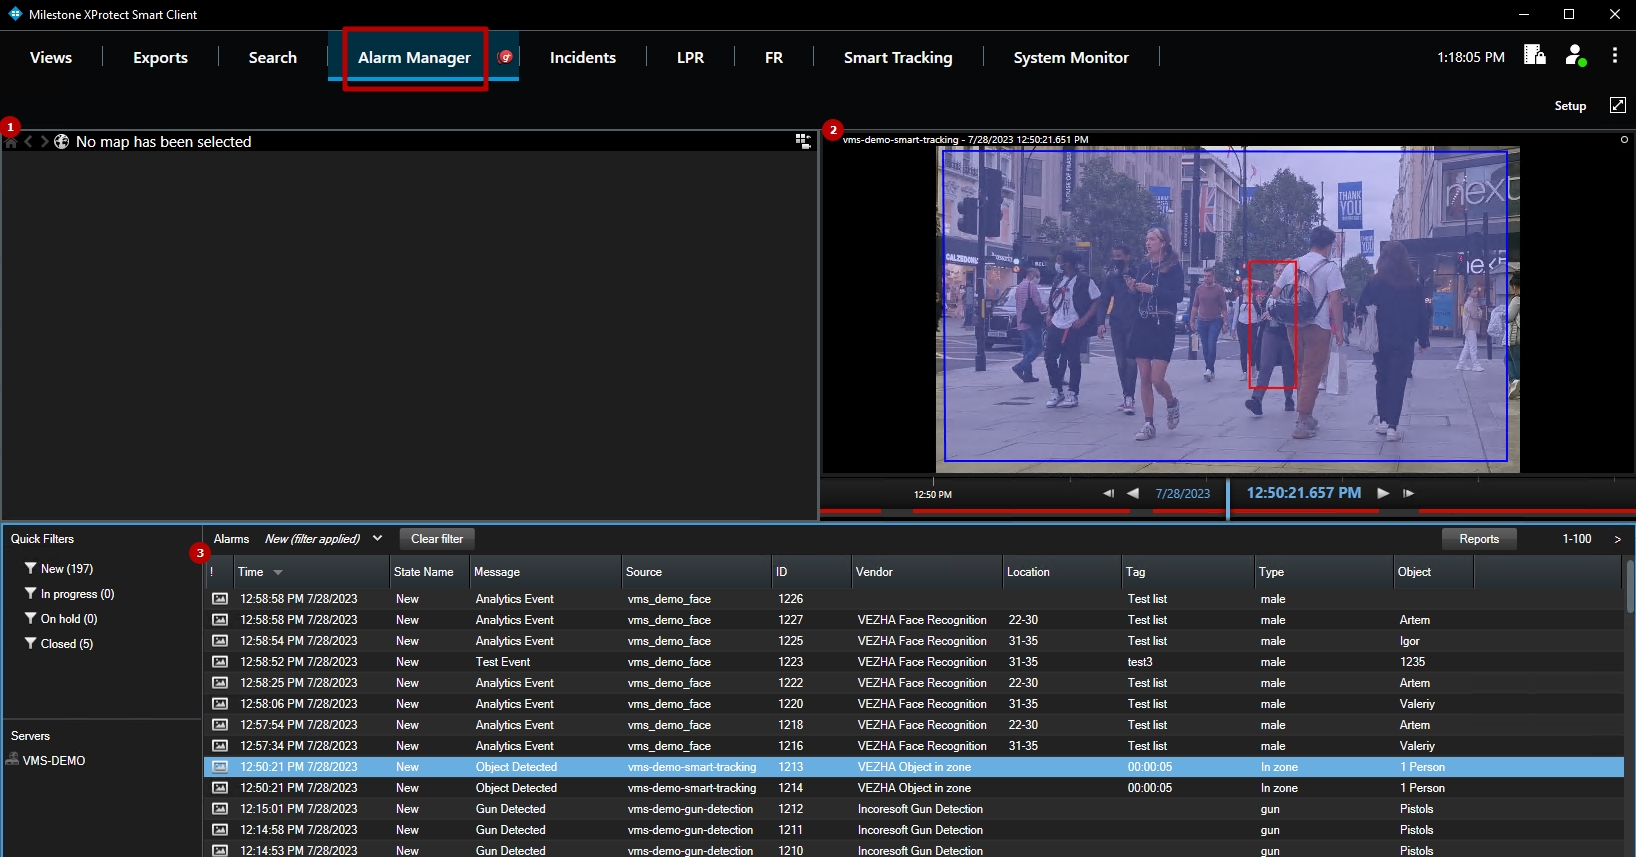
- Geolocation block displaying the camera location on the map
- Video block with the analytics record playback
- Table with analytics alarms
- The map is displayed in the Geolocation block only if the Google Maps API services were configured.
- Double-click the required alarm to open the pop-up window with the extended alarm data and options to manage alarms.