Windows: 1 PC System Installation
Introduction
- Before starting the installation, ensure that the Windows operating system on the servers is installed with Windows Desktop Experience and corresponds to one of the supported versions:
- Windows Server 2016 Standard
- Windows Server 2016 Datacenter
- Windows Server 2019 Standard
- Windows Server 2019 Datacenter
- Windows Server 2022 Standard
- Windows Server 2022 Datacenter
- Windows 10 PRO
- Windows 11 PRO
- If you have an NVIDIA graphics card, ensure that the installed driver version is 471.41 or higher.
- Use only Intel CPUs with AVX2 and SSE4.2 for the proper functioning of the VEZHA Analytics System. AMD CPUs are not supported.
- Install and configure MySQL before proceeding with the analytics system installation to establish a connection to the server. For instructions on installing MySQL DB Management System, refer to the MySQL Installation Guide.
- The analytics system operates similarly for both CPU and GPU.
- An internet connection is not necessary for the software installation.
- Please ensure that you possess administrator privileges to make system changes.
- The Storage folder needs to be accessible to all servers within the cluster, including both Middleware and analytics servers.
To initiate the system installation, navigate to the Installation Files section in the Partners Portal, select the Windows Server Analytics block, and download the corresponding installation files archive.
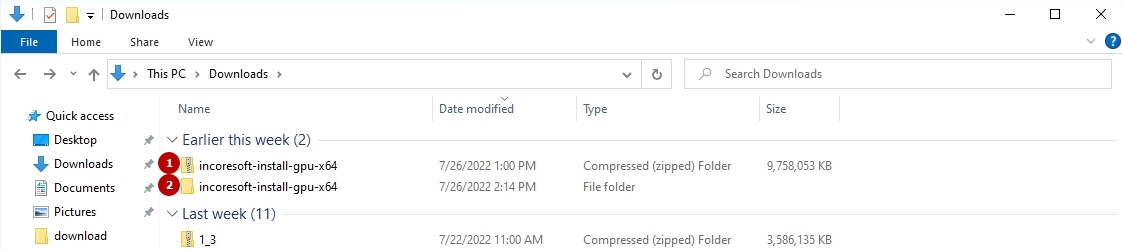
Once the download is complete, navigate to the directory where the archive is located, extract its contents, and access the folder containing the installation files:
System Installation
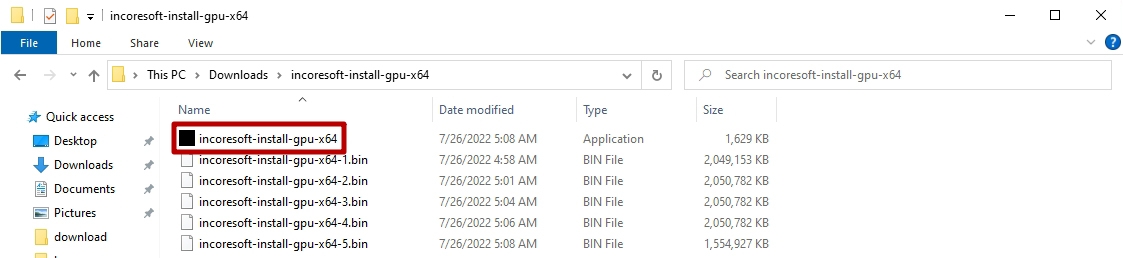
Execute the incoresoft-install-gpu-x64.exe file by double-clicking it:
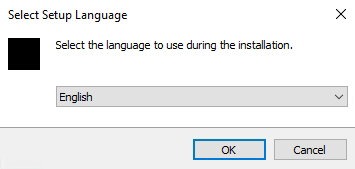
Select the desired language and click the Ok button:
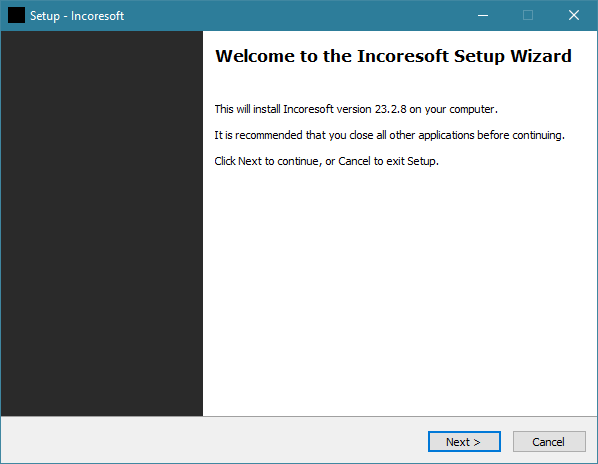
Review the setup information and click the Next button to proceed:
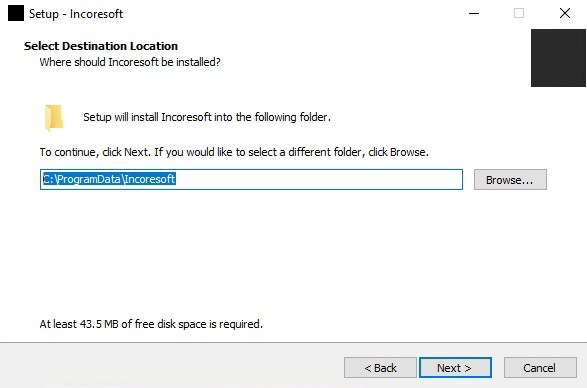
Click the Browse button to select a folder for installation, and then proceed by clicking the Next button:
Choose Full Installation from the drop-down menu to install all system elements, and proceed by clicking the Next button. For customizing the component selection:
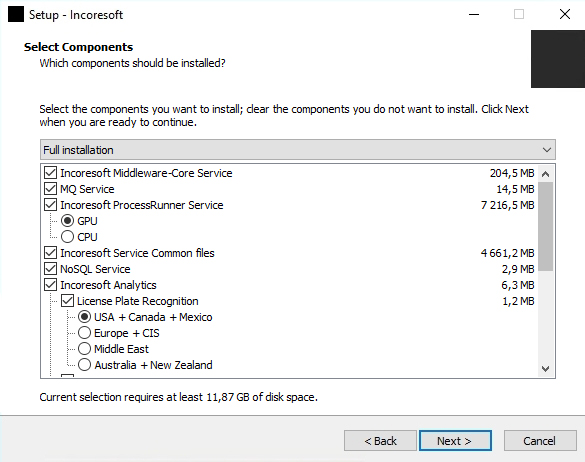
- Select GPU in Process Runner Service only if the server has GPU hardware, as the Analytics System requires it for proper functionality. Otherwise, select the CPU version.
- Uncheck any undesired analytics components from the list to save disk space.
- Manually select the region corresponding to the current server location for the LPR analytics, if it needs to be installed.
- Do not select GPU Process Runner Service if your server does not have graphics processor support as it will lead to analytics errors.
- If your server has NVIDIA graphics processor support, ensure that the installed driver version is 471.41 or higher.
- Refer to the Supported Countries documentation to verify which analytical model corresponds to the desired country for accurate license plate recognition.
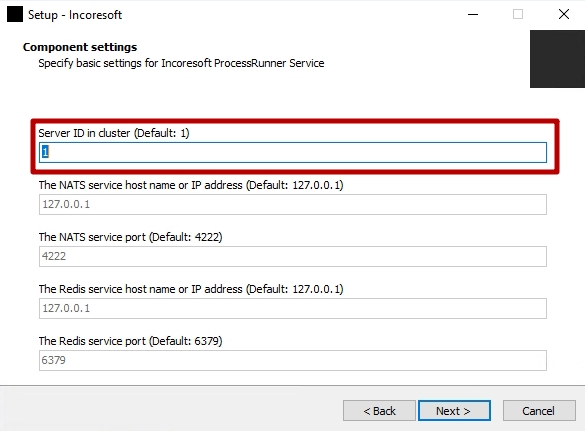
Keep the default value in the Server ID in Cluster field and proceed by clicking the Next button:
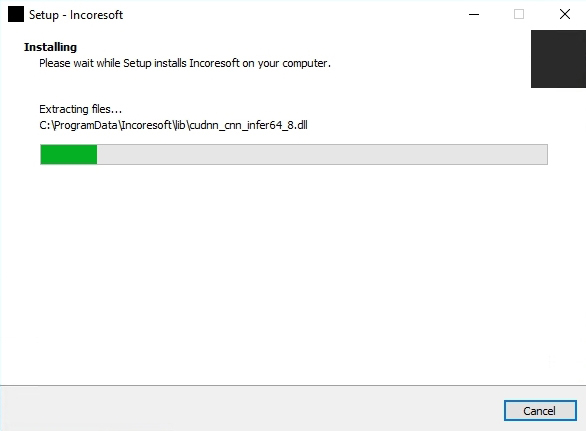
Wait until the installation process is complete:
Click the Finish button to close the setup window:
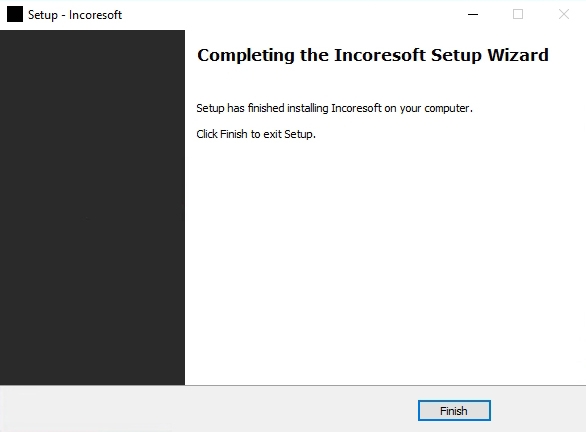
The system installation is now complete.
Server Launch
To access the server, open the following URL:
- If the system was installed on the current PC, use http://localhost:2001/
- If the system was remotely installed on a server, use http://ip:2001/ where IP is the IP address of the server
Within the Database block, perform the following steps:
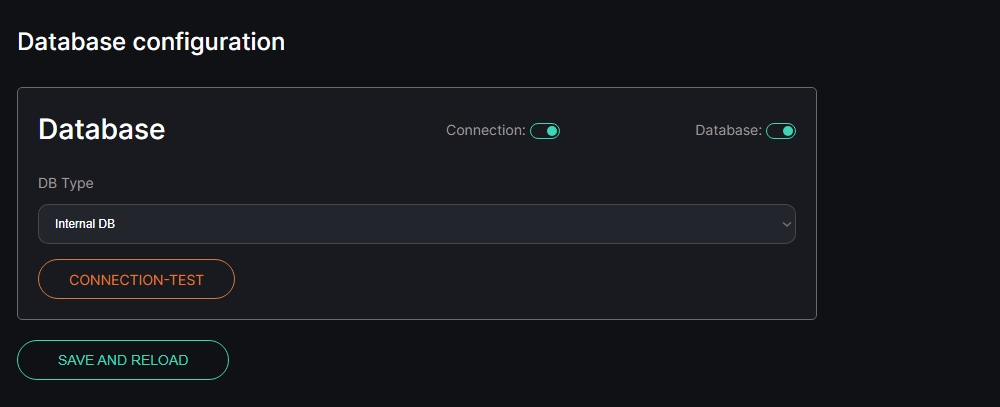
- Choose the appropriate DB type from the drop-down list:
- Internal DB for small projects with up to 20 analytics and low server load
- MySQL for larger projects with over 20 analytics
- Fill in the necessary fields for the DB connection (applicable only for MySQL type):
- In the Host field, specify the IP address of the server with the preinstalled and configured DB
- In the Login field, enter the admin login for accessing the DB
- In the Password field, provide the password associated with the DB admin login
- Click the Connection Test button to:
- Verify the DB server connection: A successful connection is indicated by a green Connection toggle
- Create the database: A successful DB creation is indicated by a green Database toggle
- Click the Save and Reload button to save the current settings and restart the service
- If there are plans to expand the system to a server cluster in the future, selecting MySQL is preferable.
- The admin login and password are used only once during the initial setup to create a limited internal user for creating the database.
- If you choose to use the Internal DB, it is crucial to back up the database file periodically. This ensures that if the database becomes corrupted for any reason, you can restore your data from the backup. Refer to the documentation How to Prepare for Potential Errors When Using the Internal DB (H2)? for details on the backup process.
Wait while the system checks for installed plugins:

Once the webpage reloads, use the default user login and password to access the system:
- Login: admin
- Password: admin
To verify the analytical server is installed correctly, after the installation of Process Runner and all required analytics components, follow these steps:
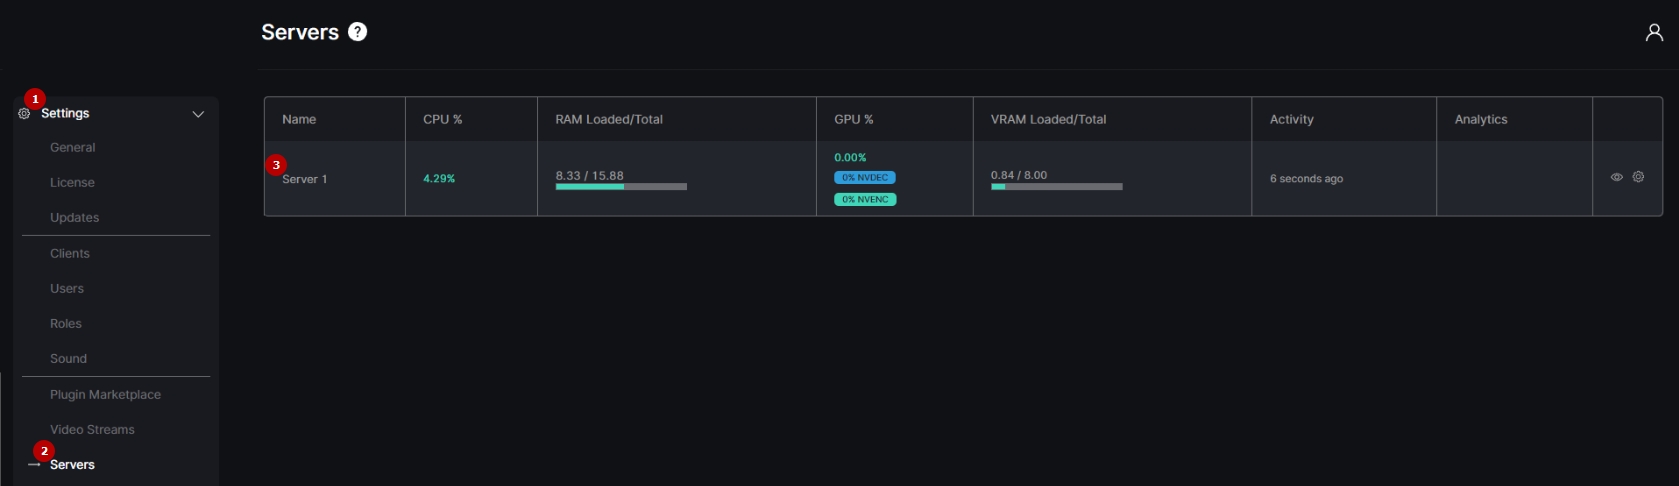
- Open the Settings section in the left menu
- Select the Servers item
- Check if the new analytical server has been successfully added to the server table