Face Recognition: Events
This page comprises the Events item overview and functionality description. The item displays the event notifications comprising a name, age and gender, presence of a mask, date and time, camera data, and frame with a detected person.
Overview
To open the Events item, in the left menu:
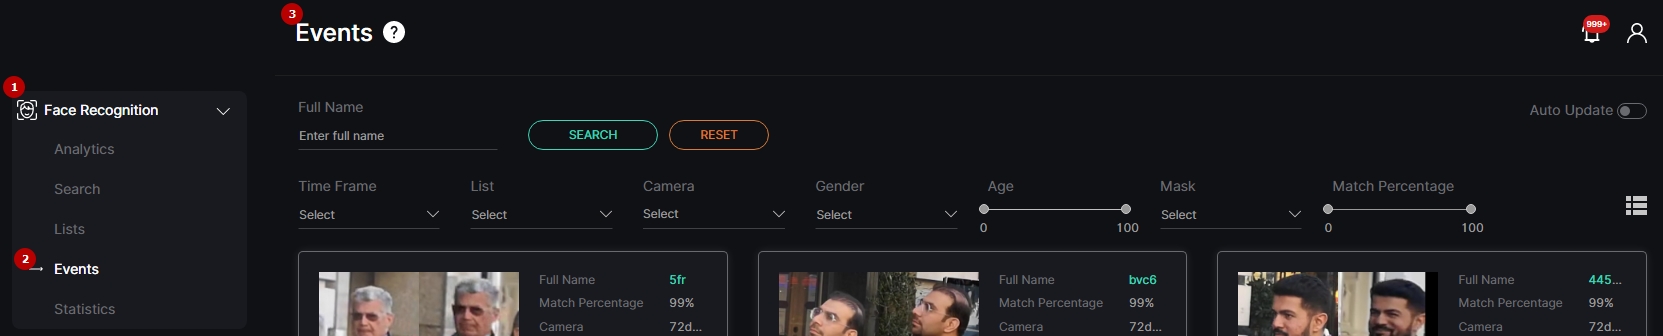
- Select the Face Recognition section
- Choose the Events item
- See event notifications
Use and Functionality
The Events functional menu allows to:

- Enter the person's full name to filter events
- Select the required time frame
- Choose the desired list
- Click the Camera parameter to select the desired video analytics. In the pop-up window:
- Check the boxes next to the required video analytics and folders
- Click the Select Video Analytics button
- Choose the gender from the drop-down list
- Set the age range by moving the sliders
- Set a medical mask presence or absence on a face
- Set the range of coincidence in percentage by moving the sliders
- Click the Search button to start filtering
- Click the Reset button to clear the filters
- Select the Auto Update toggle to enable or disable auto update of the event notifications
- Move between List and Grid view modes by clicking the corresponding toggle
Once selected and filtered, in the event notifications:
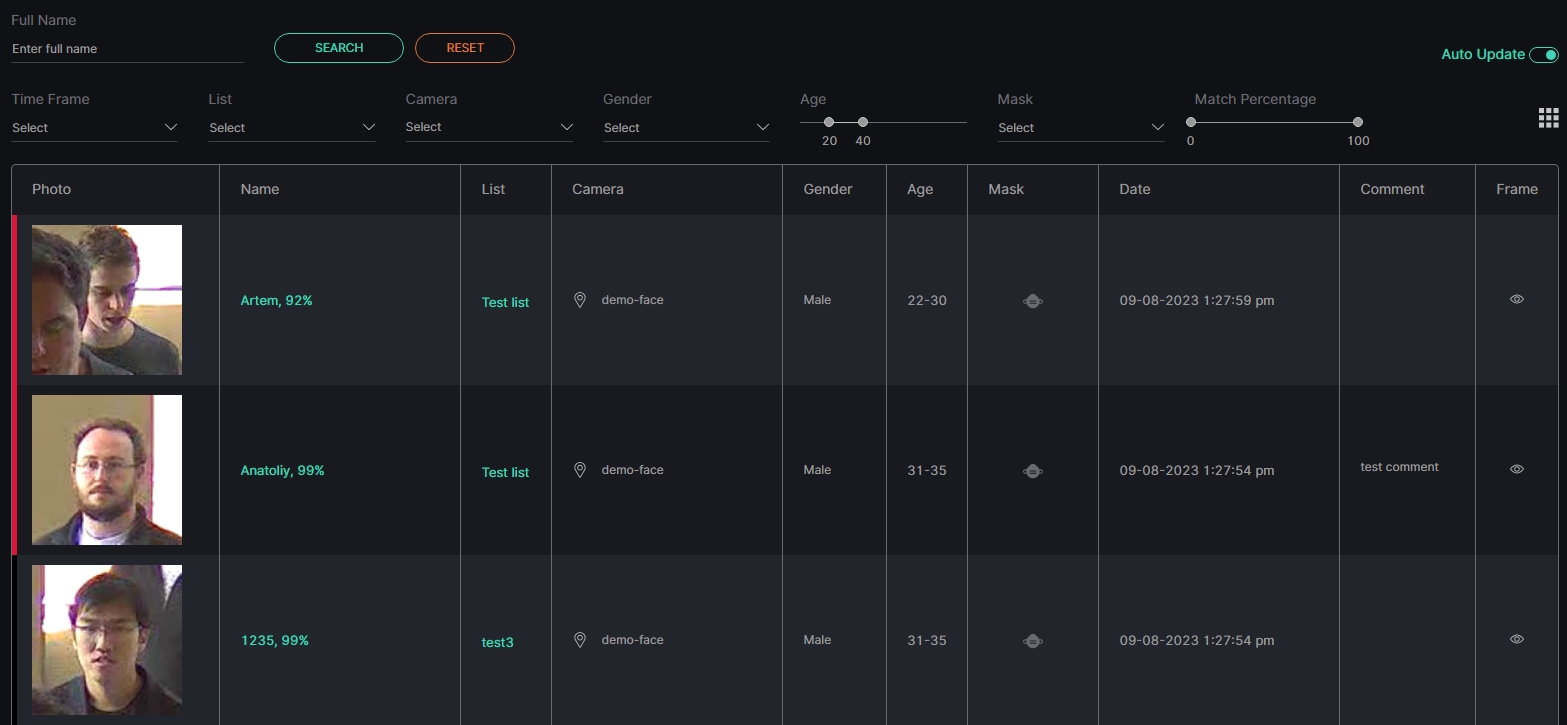
- View recognized people data, date and time faces have been detected by the selected camera
- Click the person's name to open the ID Card
- Click the list name to open the List View item or add a person to the required list by clicking the Create ID Card in List button. In the Create ID Card in List pop-up window:
- Enter the person's full name
- Write a comment about the person in the Comment field
- Select a required list
- Click the Save button
- View the selected camera location on the map by clicking the corresponding icon in the Camera column
- Read the message related to the recognized person
- Select the View icon to view the detection information. In the pop-up window:
- See the person's data
- Use frame view tools:
- Zoom Out icon (-) to zoom out from a specific area of the frame
- Zoom In icon (+) to zoom in on a specific area of the frame
- Reset View icon (~) to reset the frame to its original size and position
- Target icon to zoom in on the detected object in the frame
- Enlargement icon to open the frame in full-screen (in the full-screen press the Esc button to return to default view)
- Hover the mouse over the Extra Options icon to:
- Select the Save Image option to download the event frame in full-size
- Select the Export Event option to download the PDF report of the event
- The same options are available in the grid view mode.
- Click and drag the image across the zoomed-in frame to view different parts of it.
- Hover the mouse over the bounding box in the frame to see its width and height parameters in pixels.