VEZHA VA Plugin for Milestone XProtect VMS
Introduction
This guide comprises comprehensive information about VEZHA Analytics System web integration with Milestone XProtect VMS through the VEZHA VA Plugin. Use this guide to understand the plugin installation and configuration process and learn how to utilize it for the best results.
What is VEZHA VA Plugin?
The VEZHA VA Plugin is a versatile tool that allows viewing video analytics results from various VEZHA plugins in a single, convenient web interface within the Milestone XProtect Smart Client.
Overview
Before you start, ensure you have correctly installed and configured:
- The latest version of IncoreSoft VEZHA Analytics System (Middleware Core ver. 23.2.11 or higher)
- The latest version of the required IncoreSoft VEZHA plugins
- Milestone XProtect VMS
- Milestone Open Network Bridge
- WebView2 library
- The latest version of the IncoreSoft VEZHA Analytics System installation file can be found in the Installation Files section of the Partners Portal.
- Middleware Core version can be checked in the Updates item of the VEZHA system, and updated if necessary.
- IncoreSoft VEZHA plugins can be updated in the Plugin Marketplace item of the VEZHA system.
- Milestone Open Network Bridge must be installed and configured on the same computer as the Milestone XProtect Management Server.
- The WebView2 library installation on the same computer as Milestone XProtect Smart Client is essential for the proper functioning of the plugin. Download the WebView2 installation file at the following link: https://developer.microsoft.com/en-us/microsoft-edge/webview2/?form=MA13LH#download.
Plugin Installation
To initiate the plugin installation:
- Navigate to the Installation Files section in the Partners Portal
- Select the Milestone XProtect VMS Plugins block
- Download the Milestone Web Integration Plugin file
Execute the Incoresoft-VEZHA-WebIntegration.exe file by double-clicking it.
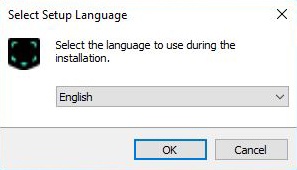
Select the desired language and click the Ok button:
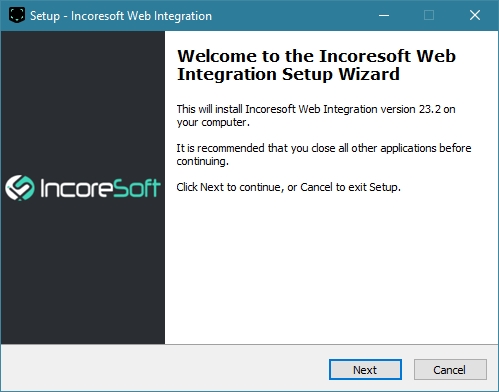
Review the setup information and click the Next button to proceed:
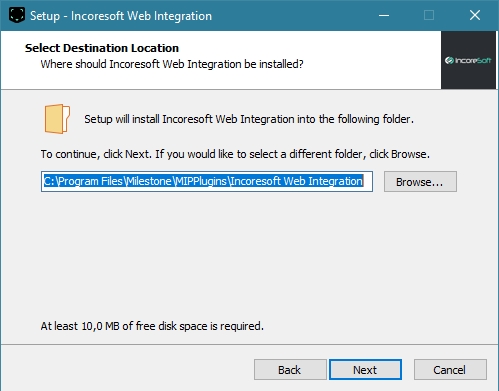
Click the Browse button to select a folder for installation, and then proceed by clicking the Next button:
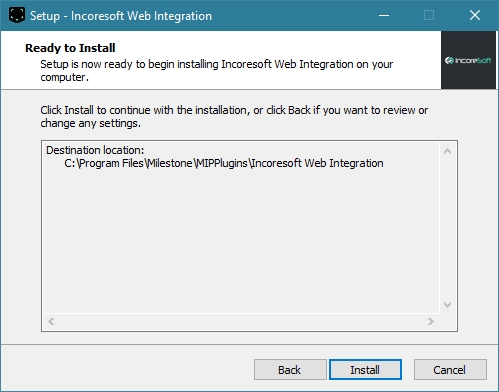
Click the Install button and wait patiently until the installation process is completed:
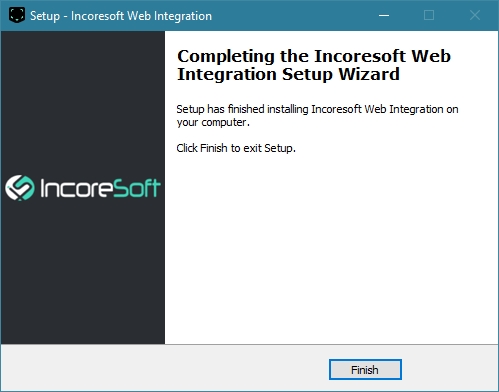
Click the Finish button to close the setup window:
The plugin installation is now complete.
Plugin Configuration
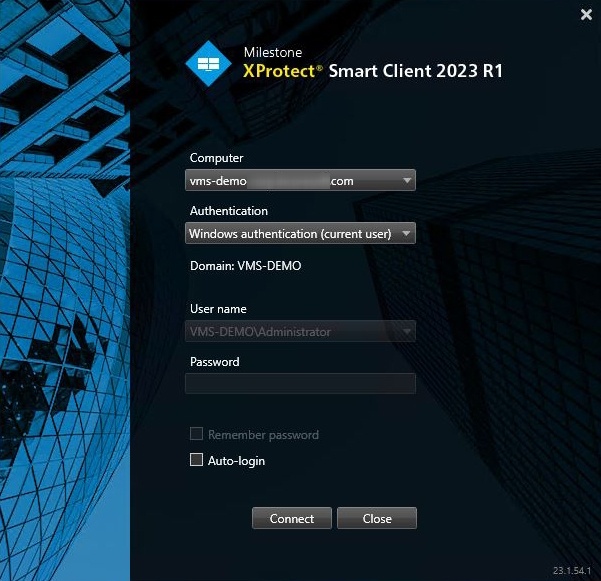
Open the XProtect Smart Client application and sign in by performing the following steps in the login dialog:
- Specify the hostname or the IP address of the XProtect Management Server in the Computer field
- Select the desired authentication method
- Enter the username and password
- Click the Connect button
- When the same user login and password are used for accessing Milestone XProtect Smart Client (Basic Authentication) and VEZHA Analytics System, SSO authentication occurs.
- Please avoid using the user's password with special symbols such as: "!@#$%^&*()", as it may lead to errors. Symbols "." and "-" are allowed.
To connect VEZHA plugins as web integration, open the Settings pop-up window:
- Click the "⋮" icon
- Select Settings from the drop-down menu
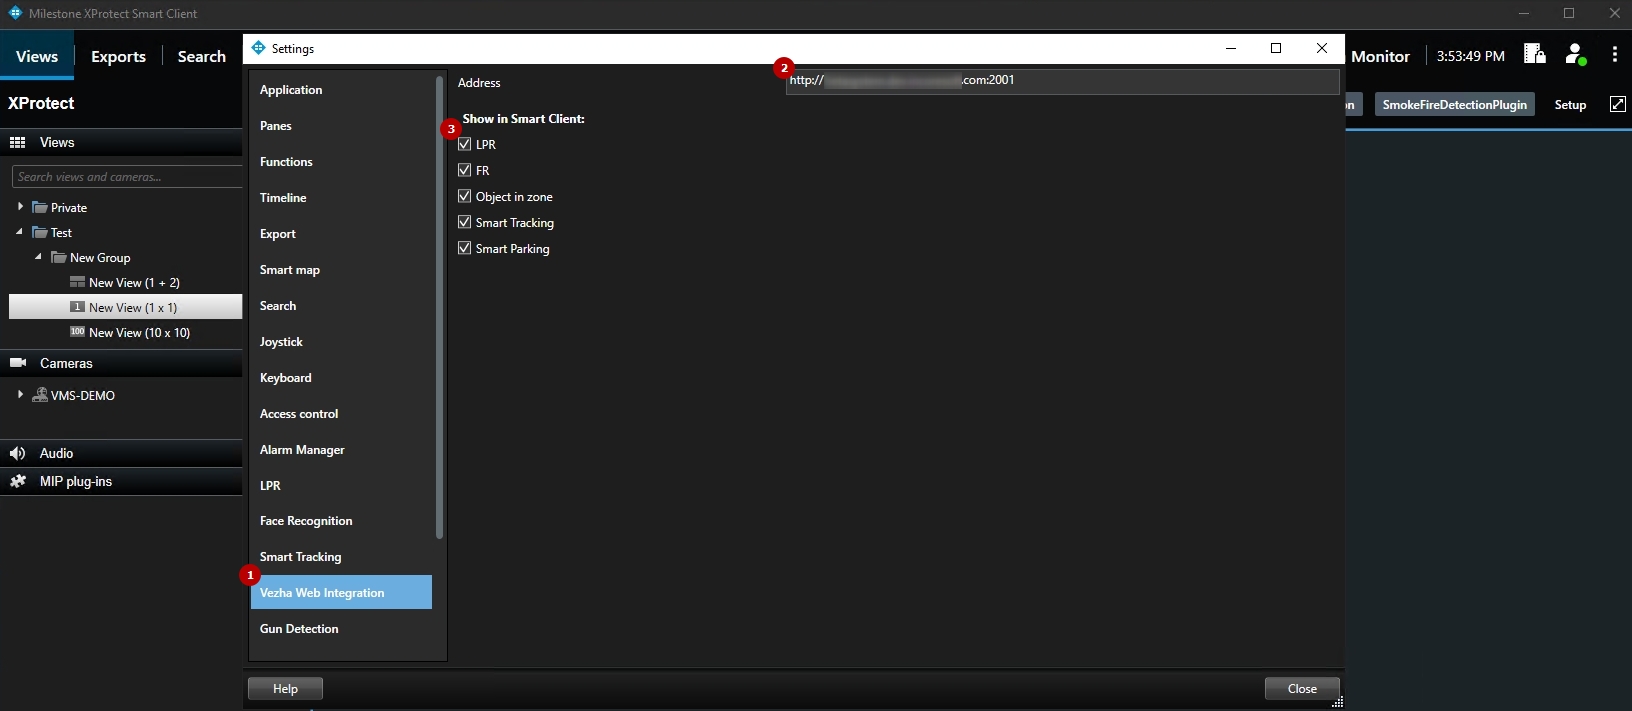
In the Settings pop-up window proceed with the following steps:
- Navigate to the VEZHA Web Integration section
- Enter the VEZHA server address in the following format: "http://your_server_ip_address:port"
- Check the boxes next to the required VEZHA plugins
Once the server address is specified and the required plugins are selected, close the Settings pop-up window and restart the Milestone XProtect Smart Client to apply changes.
Plugin Utilization
All enabled VEZHA web plugins are displayed as tabs at the top menu of Milestone XProtect Smart Client:
The web plugin interface resembles the VEZHA Analytics System. All available plugin sections are positioned at the top of the page, as illustrated in the example:
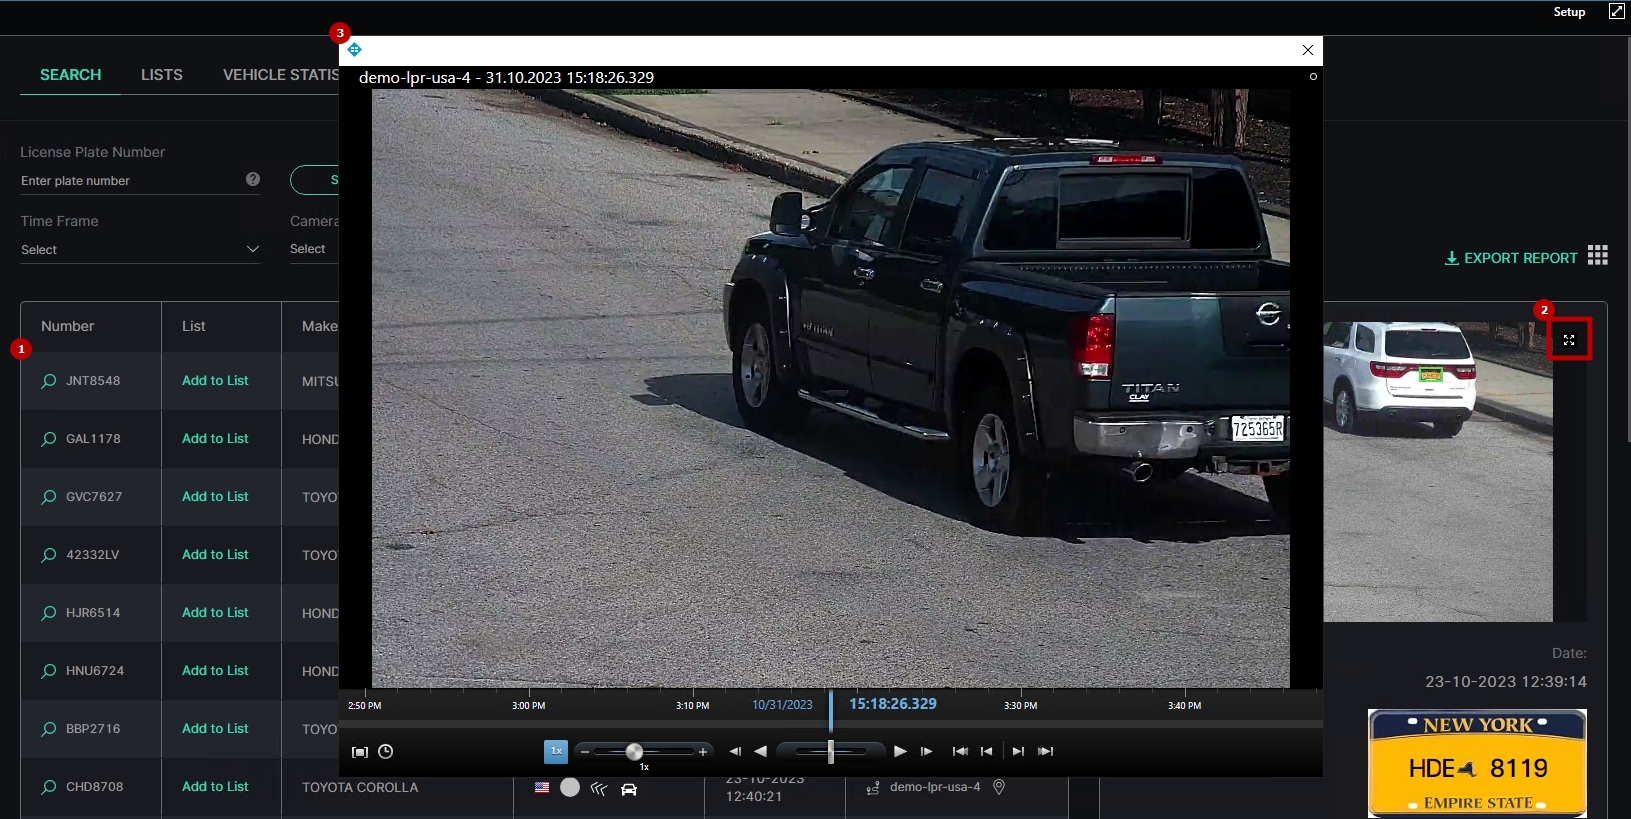
To view the required event playback, follow these steps:
- Select the desired record
- Click its frame preview on the right side of the page in the List View mode, or click the View icon next to the required event in the Grid View mode
- See the event playback in the pop-up window
