Milestone: Smart Tracking System Plugin Utilization
Introduction
Open the XProtect Smart Client application and sign in by performing the following steps in the login dialog:
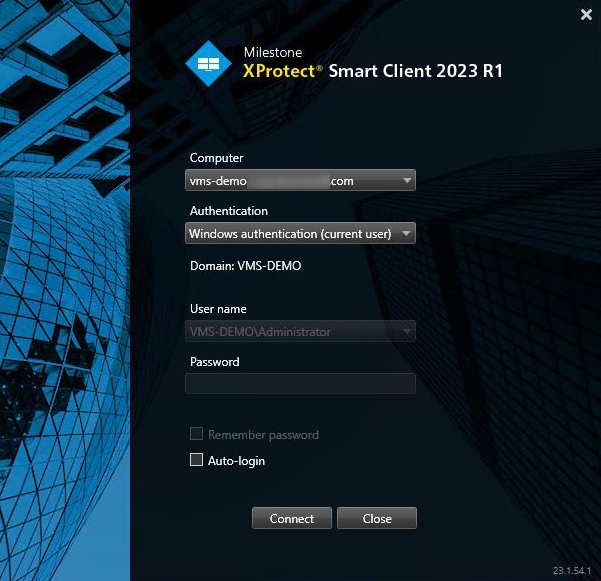
- Specify the hostname or the IP address of the Management Server in the Computer field
- Select the desired authentication method
- Enter the username and password
- Click the Connect button
Overview
To view the Smart Tracking System search results, navigate to the Smart Tracking section in the main menu. It comprises 2 items:

- Attributes Search
- Archive Search
Attributes Search
To view the search results, click the Attributes Search item. The Attributes Search functional menu allows to:

- Select the required time frame
- Select multiple required cameras from the drop-down list
- Choose multiple appearance attributes:
- Gender
- Top Length (and Color)
- Bottom Length (and Color)
- Bottom Clothes
- Hat
- Hair Length
- Bag
- Age
- Click the Search icon to start filtering
- Click the Reset icon to clear all applied filters
- Switch between search result pages by clicking the navigation arrows
Once selected and filtered, in the search results:
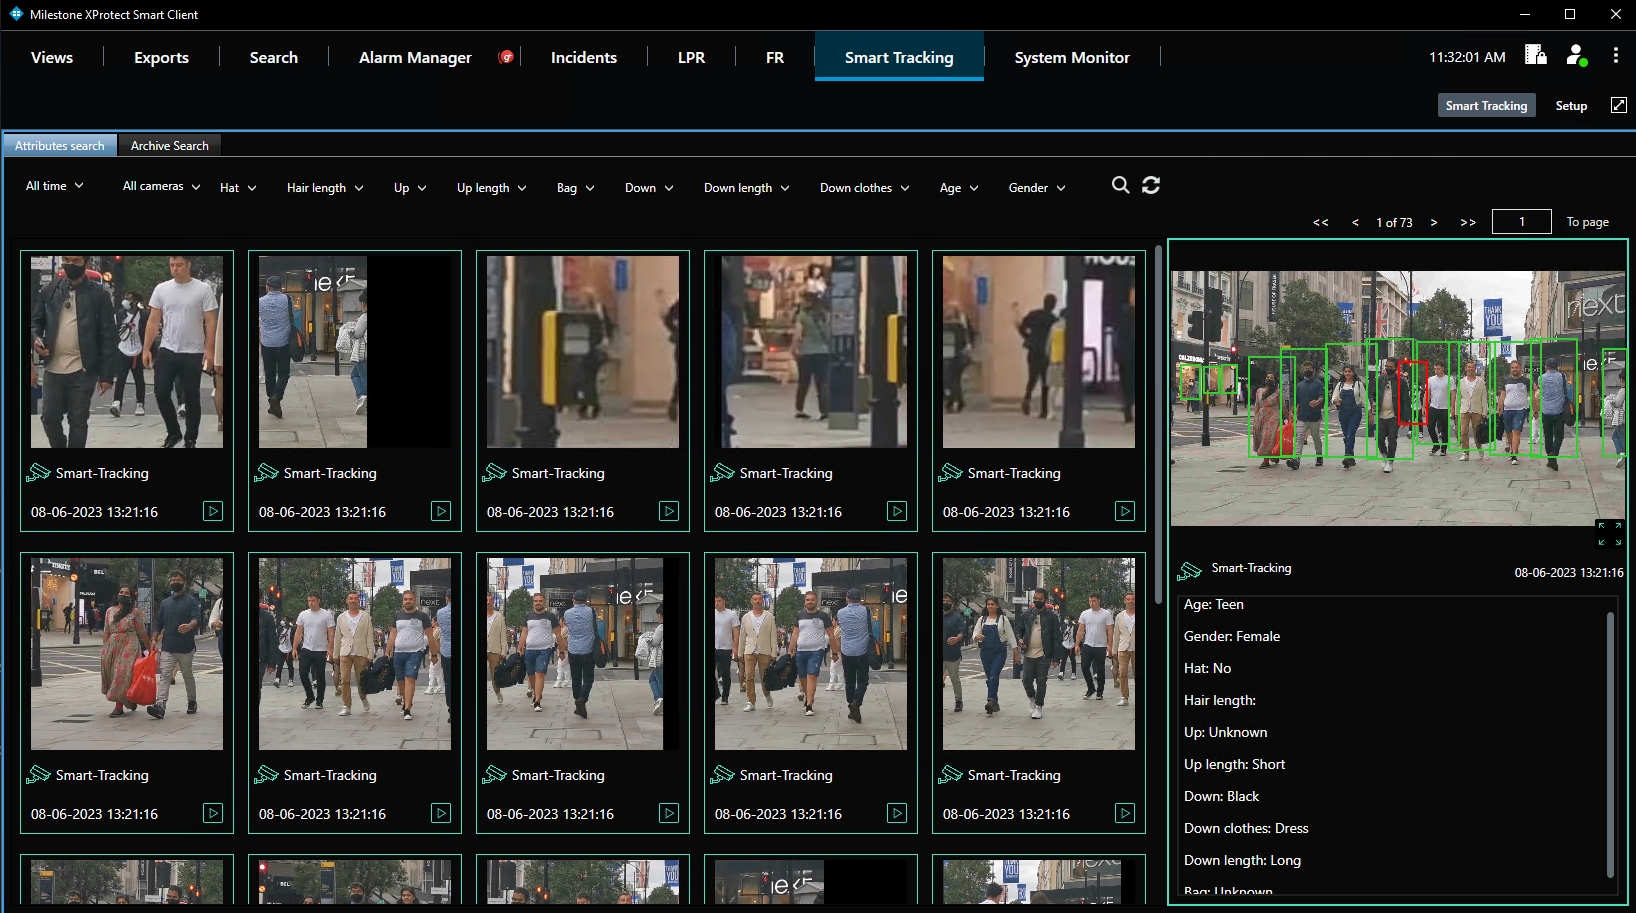
- View the exact date and time the required person was detected
- View the camera location on the map by clicking the corresponding icon next to the camera's name
- Click the Play icon in the tile to watch a short video record with a required person
- Click the desired tile to see the frame with detected people preview and recognized appearance attributes
- Select the enlargement icon in the bottom-right corner of the frame preview to view the frame in full size and save it by clicking the Save Image button in the pop-up window
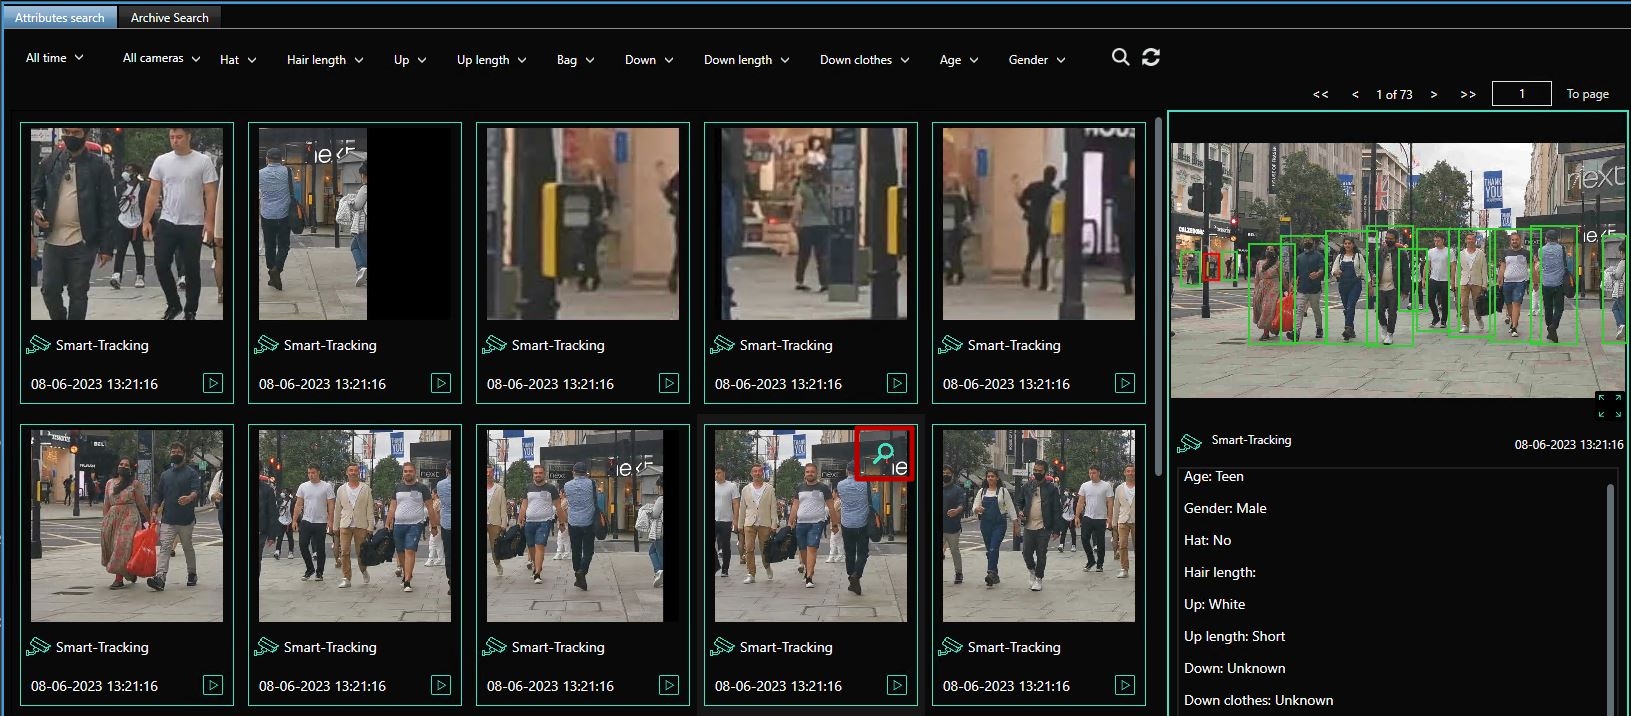
Hover the mouse over the tile with the required person and click the Magnifying Glass icon in the upper-right corner to view other search results with the selected person:
To filter search results with the selected person:
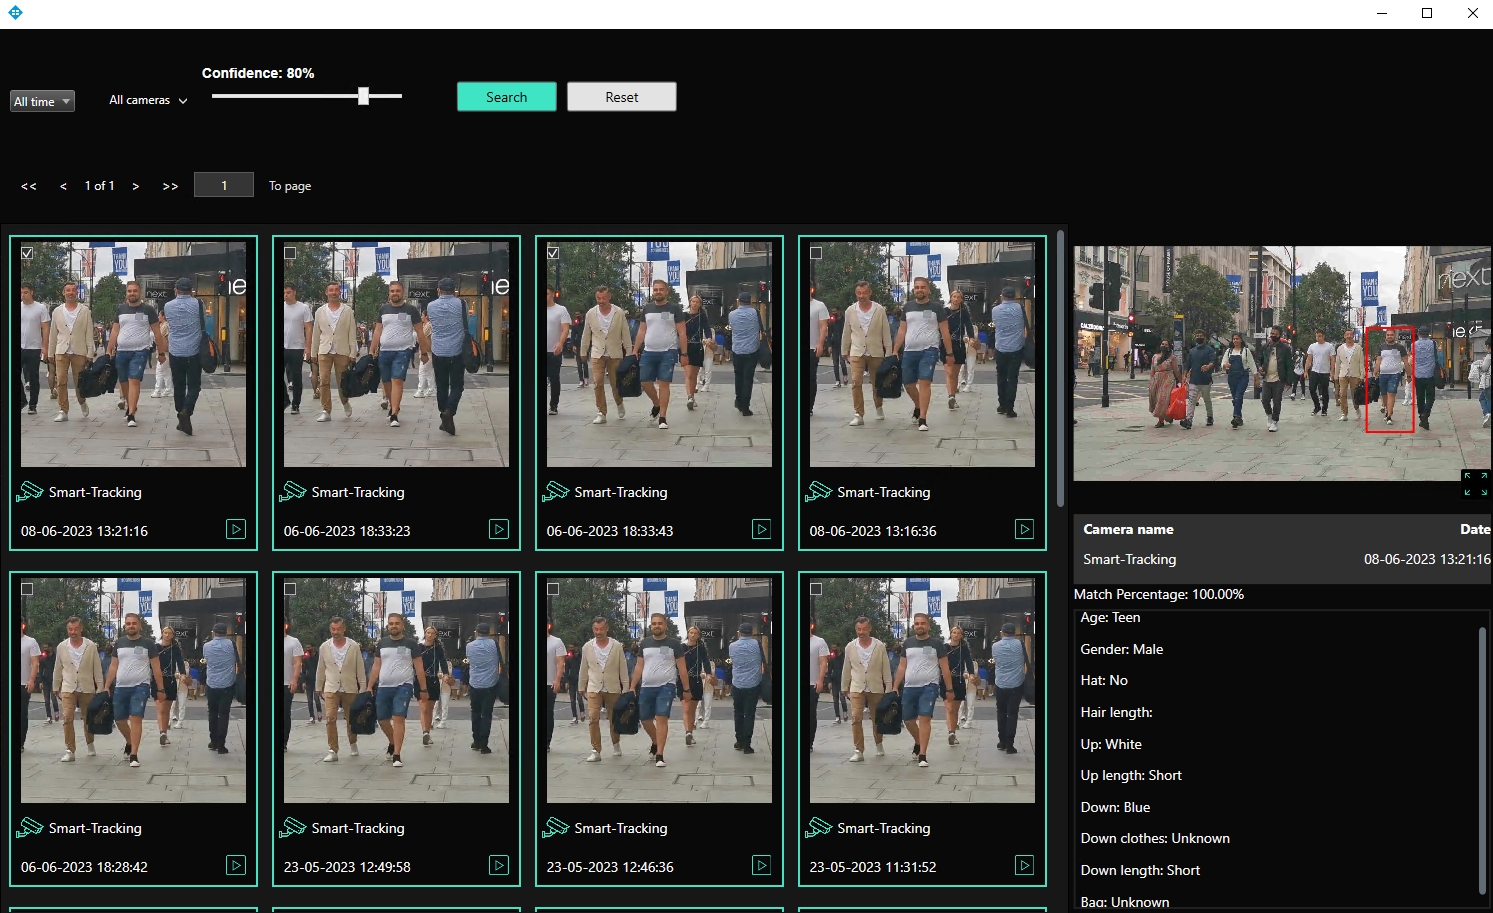
- Select the required time frame
- Select multiple required cameras from the drop-down list
- Move the slider to set the range of confidence in the percentage
- Click the Search button to start filtering
- Click the Reset button to clear the applied filters
- Switch between search result pages by clicking the navigation arrows
- Select the checkboxes in the required tiles to add the selected detectionы to the general search results
- Deselect the checkboxes in the required tiles to remove the selected detectionы from the general search results
Archive Search
To open the archive search, click the Archive Search item. The Archive Search functional menu allows to:

- Select the desired video stream from the drop-down list
- Click the Search button to start filtering frames from the video
- Click the Reset button to clear the filter
Once the video frames are processed, proceed with the following steps:
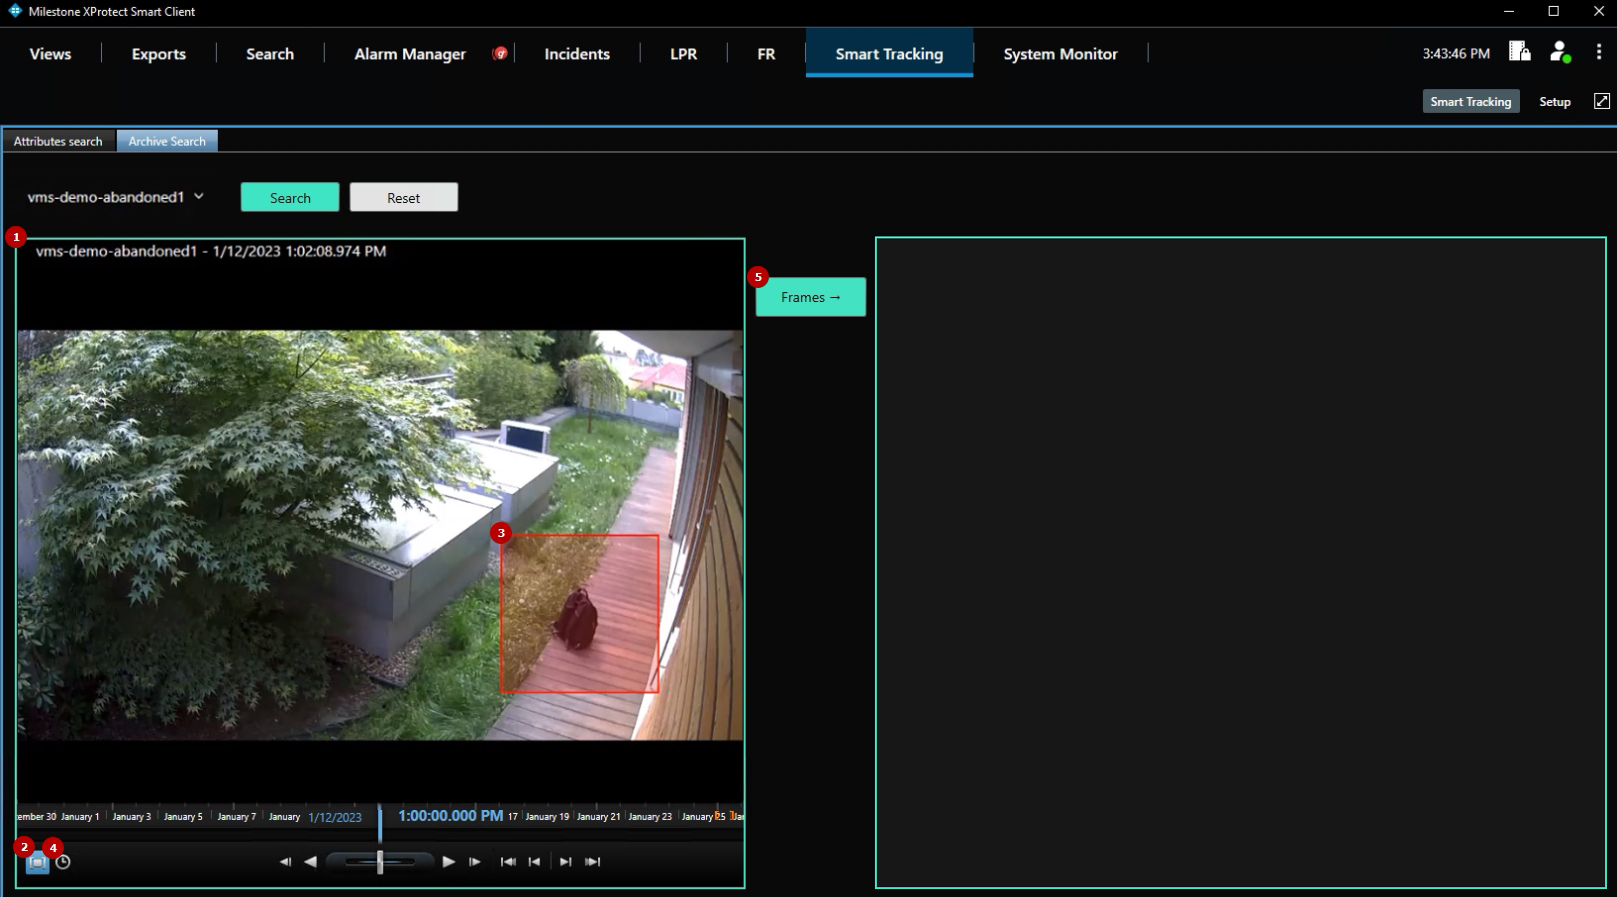
- View the video
- Select the Zone Selection Mode icon to enable the zone selection over the video frame
- Select the desired search zone:
- Click at the starting point to begin the zone selection
- Hold down the mouse button and drag the cursor in the desired direction to draw the rectangle
- Release the mouse button
- Set the required time frame by clicking the Set Start/End Time icon
- Click the Frames button to start the search
In the search results, hover the mouse cursor over the frame of interest and click on the Magnifying Glass icon to view other frames with a shorter time interval between them:

Scroll through the frames to find the required one:
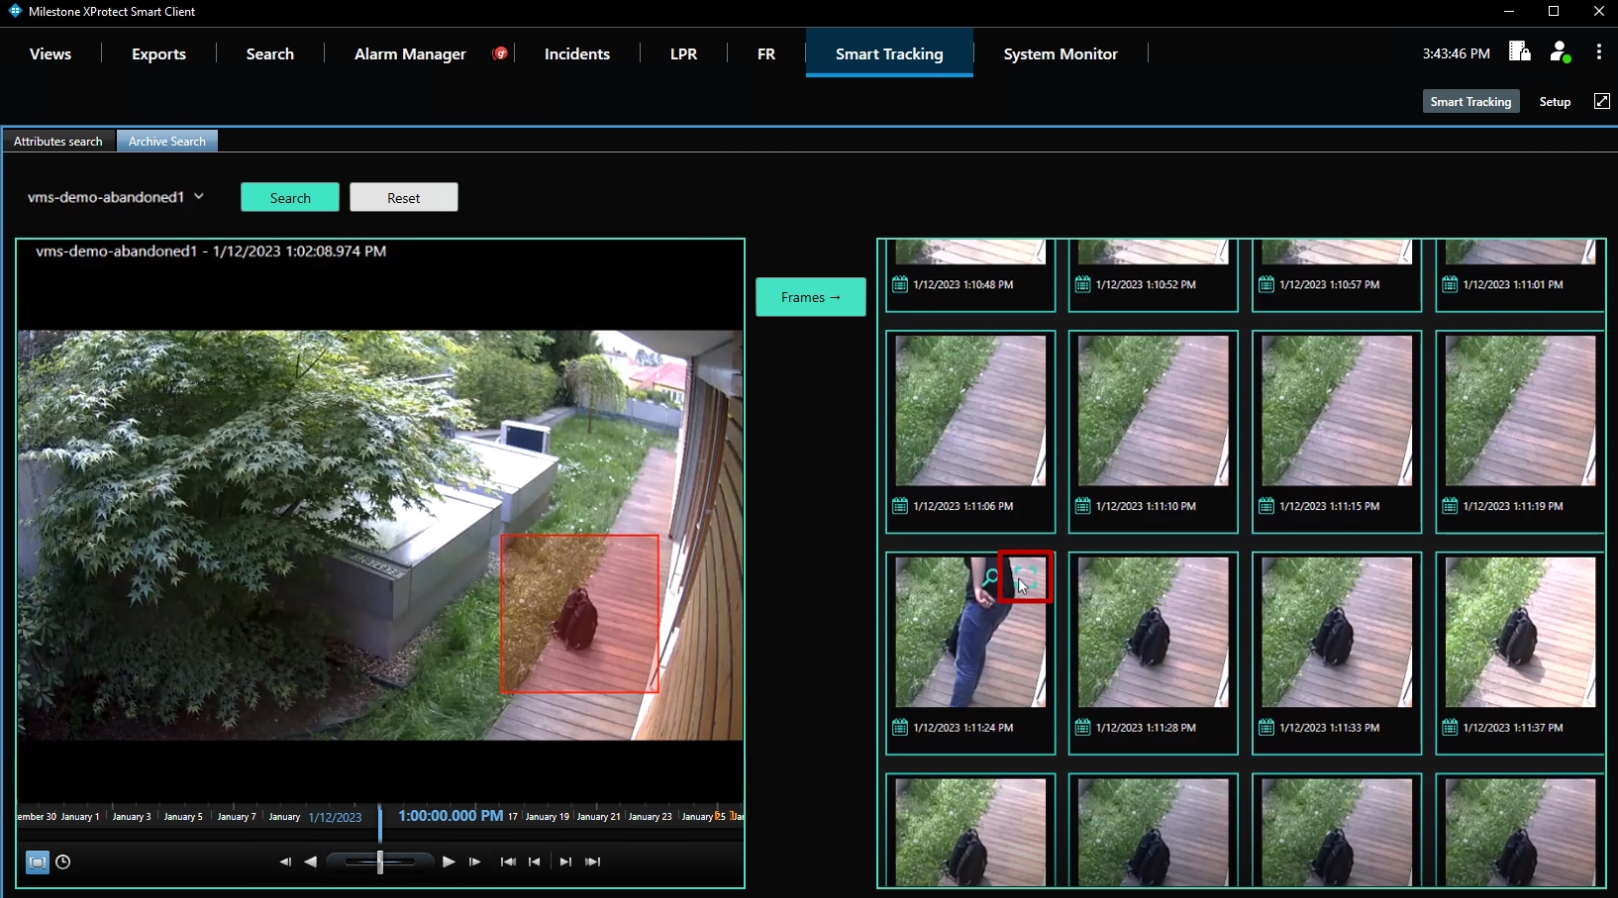
- Hover the mouse cursor over the desired frame
- Click the Enlargement icon to open the frame in full size
- Save the image by clicking the Save Image button in the pop-up window